
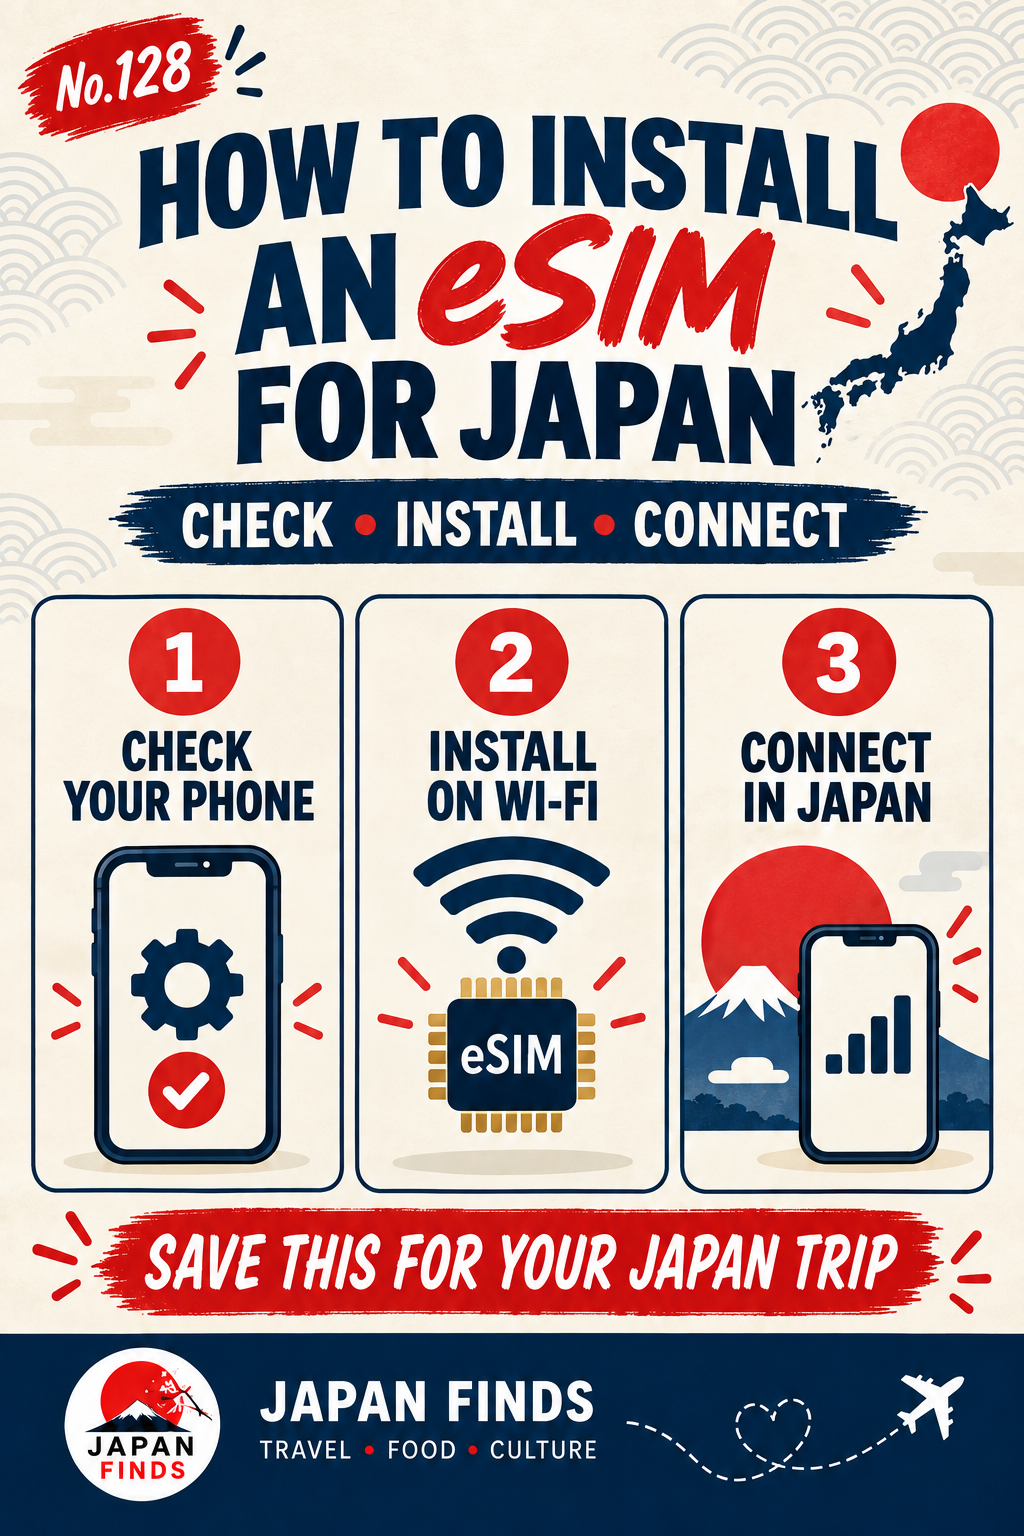
A travel eSIM is easiest when you separate installation from connection. Check the exact phone first, save the provider’s instructions, install on reliable Wi-Fi when the plan permits it, and switch the mobile-data line only when you are ready to connect in Japan. Menu names differ by phone and operating-system version, so treat the provider’s instructions for your purchased plan as the final authority.
Confirm that the exact phone is eligible
The phone must support eSIM and be carrier-unlocked. Do not rely on the model family alone: support can differ by model number, purchase country and carrier. Check the manufacturer and provider compatibility lists, then confirm the lock status with the carrier if the settings screen is unclear. Complete this check before buying because an eSIM cannot make an incompatible or locked phone work.
Read the activation policy before installing
Installation downloads an eSIM profile to the phone; activation or first network use may start the plan’s validity period. Many travel plans begin when they first connect to a supported network at the destination, but some start earlier. Read the specific package terms for the trigger, coverage area and validity period before tapping Install.
Save the instructions somewhere else
Keep the QR code, manual SM-DP+ address, activation code, APN details and support contact available offline. A QR code displayed only on the phone being configured may be difficult to scan, so open it on another device, print it or use the provider’s direct or manual installation method. Never publish or share the activation details.
Install on a stable connection
Connect to reliable Wi-Fi and follow the provider’s direct, QR-code or manual installation steps. Do not close the settings screen while the profile is downloading. Give the new line a clear label such as Japan eSIM, but leave it selected for mobile data only when the provider says it is ready to connect.
Protect the home line from roaming charges
If you keep the home SIM active for calls or authentication texts, select the travel eSIM as the mobile-data line and turn off automatic cellular-data switching. Check the home carrier’s roaming rules before leaving its line enabled. On iPhone and Android, the exact names of these controls can vary by version and device.
Connect after landing in Japan
Turn on the travel line, choose it for mobile data and follow the provider’s instruction for data roaming. Travel eSIMs sometimes require roaming because they connect through a partner network. Enter the supplied APN only when required, then wait a few minutes for network registration before testing a webpage, map and messaging app.
Troubleshoot without deleting the profile
If data does not work, confirm the travel line is enabled, mobile data points to it, the APN is exact and the supported network is selected. Toggle airplane mode and restart the phone. Do not delete the eSIM unless the provider tells you to: some profiles cannot be downloaded again. Use airport Wi-Fi to contact support while the order and device details are still available.
Before departure
Prepare the eSIM without starting it too early
Check
Confirm the exact model supports eSIM, the phone is unlocked, and the plan covers Japan.
Save
Keep the QR code, manual installation details, APN and support contact on another device or offline.
Install
Use stable Wi-Fi and the purchased plan’s instructions. Check what event starts the validity period.
Phone settings
Where to add an eSIM
iPhone
- Open Settings → Cellular / Mobile Data.
- Tap Add eSIM.
- Use the provider app, scan the QR code, or enter the details manually.
- Label the new line Japan eSIM.
- Follow the provider’s timing instructions before selecting it for mobile data.
Google Pixel and other Android phones
- Open Settings → Network & internet → SIMs.
- Tap Add SIM or Set up an eSIM.
- Scan the QR code or enter the provider’s manual details.
- Label the line and leave the home SIM’s data roaming off.
- Use the manufacturer and provider steps if the menu wording differs.
Menus change with device brands and software versions. Follow the instructions attached to the eSIM you actually purchased.
After landing
Connect before leaving the airport
- Enable the Japan eSIM line.Keep the installation email or app open on airport Wi-Fi.
- Select it for mobile data.Turn off automatic cellular-data switching to reduce the risk of using the home line.
- Follow the provider’s roaming instruction.Some travel eSIMs need data roaming enabled on the travel line.
- Check the APN and network.Enter only the values supplied with the plan.
- Test real travel tasks.Open a webpage, map a route and send a message before leaving the terminal.
Keep your home number without using its data
- Choose the Japan eSIM as the only mobile-data line.
- Disable data roaming on the home line unless the home carrier explicitly requires it.
- Turn off cellular-data switching or automatic data switching.
- Check the cost of receiving calls and texts while abroad.
- Pause cloud photo backup, app updates and large downloads on mobile data.
Quick fixes when the eSIM will not connect
Wait a few minutes, toggle airplane mode, restart and confirm the supported network.
Check the selected data line, data roaming instruction and APN spelling.
Use another screen, a printed copy, direct installation or the manual SM-DP+ details.
Use airport Wi-Fi to contact the provider. Do not delete the eSIM unless support tells you to.
Official setup references
Information reviewed September 21, 2026. Phone menus, device support and plan activation rules can change.
Opening hours, prices, reservation rules and transport details can change. Confirm important details with the official operator before your visit.